Hello there!
This week we are talking about Back To School Organizing and I am sharing strategies & ideas to help you get organized for the back to school season.
On Monday, we talked about Wardrobe Wrangling and getting that school wardrobe whipped into shape.
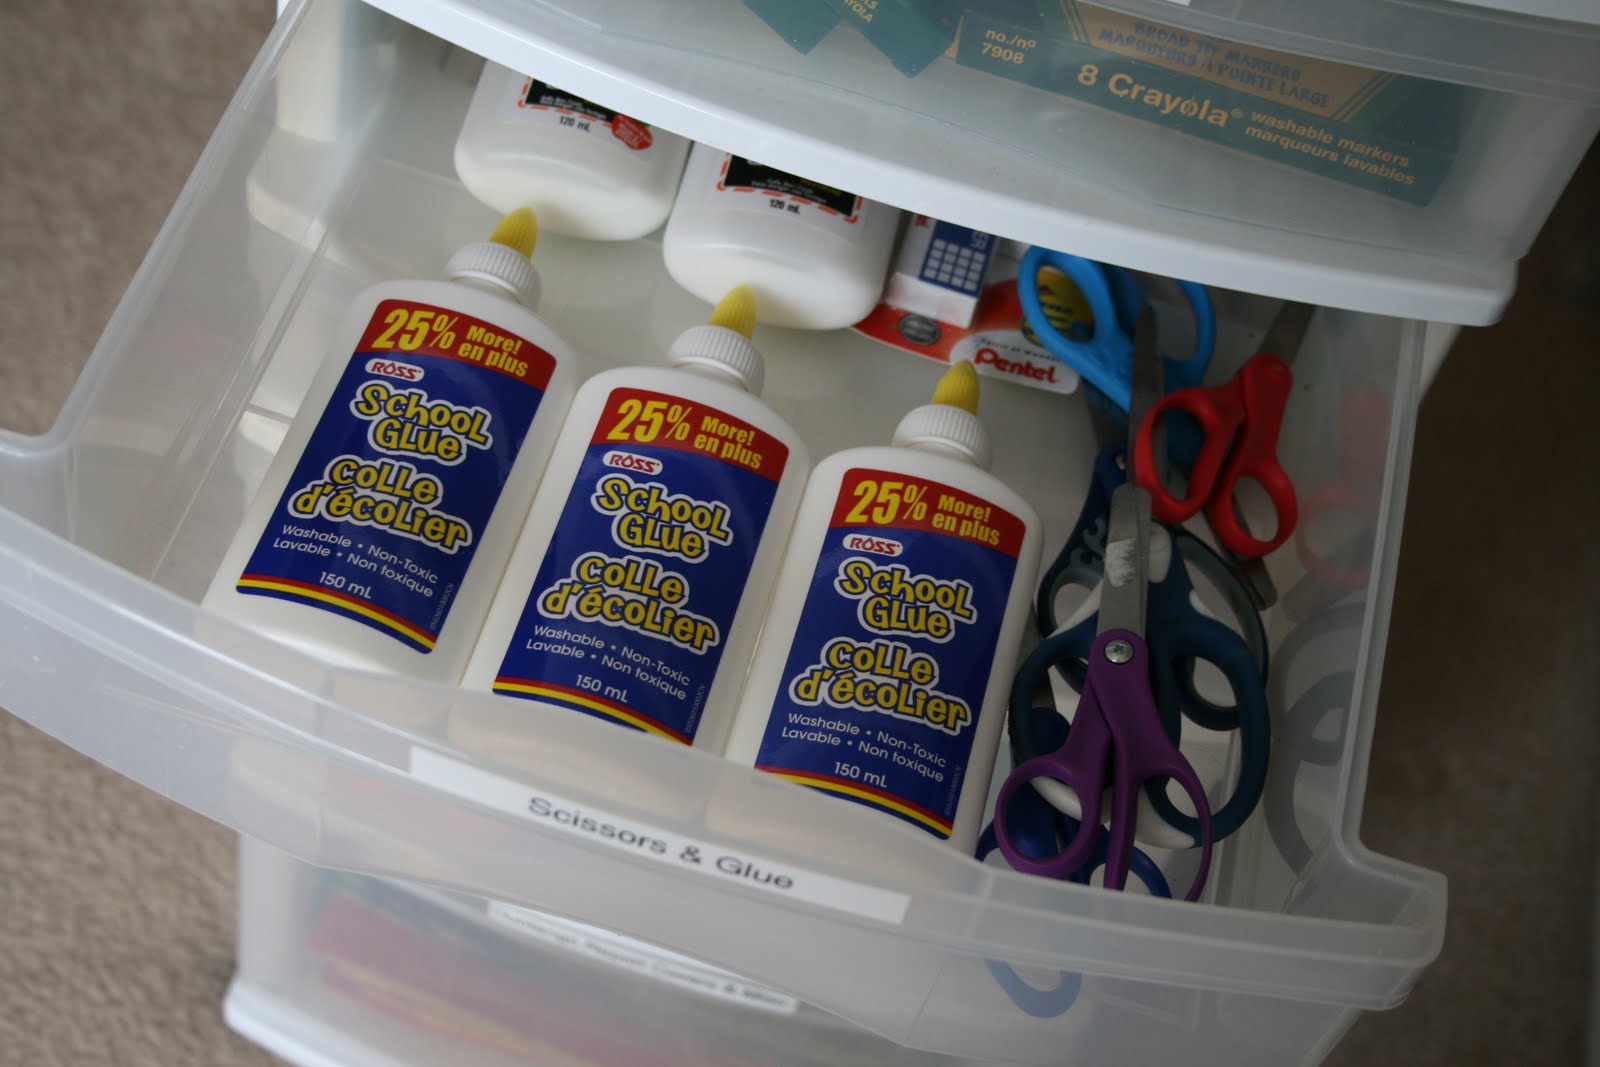
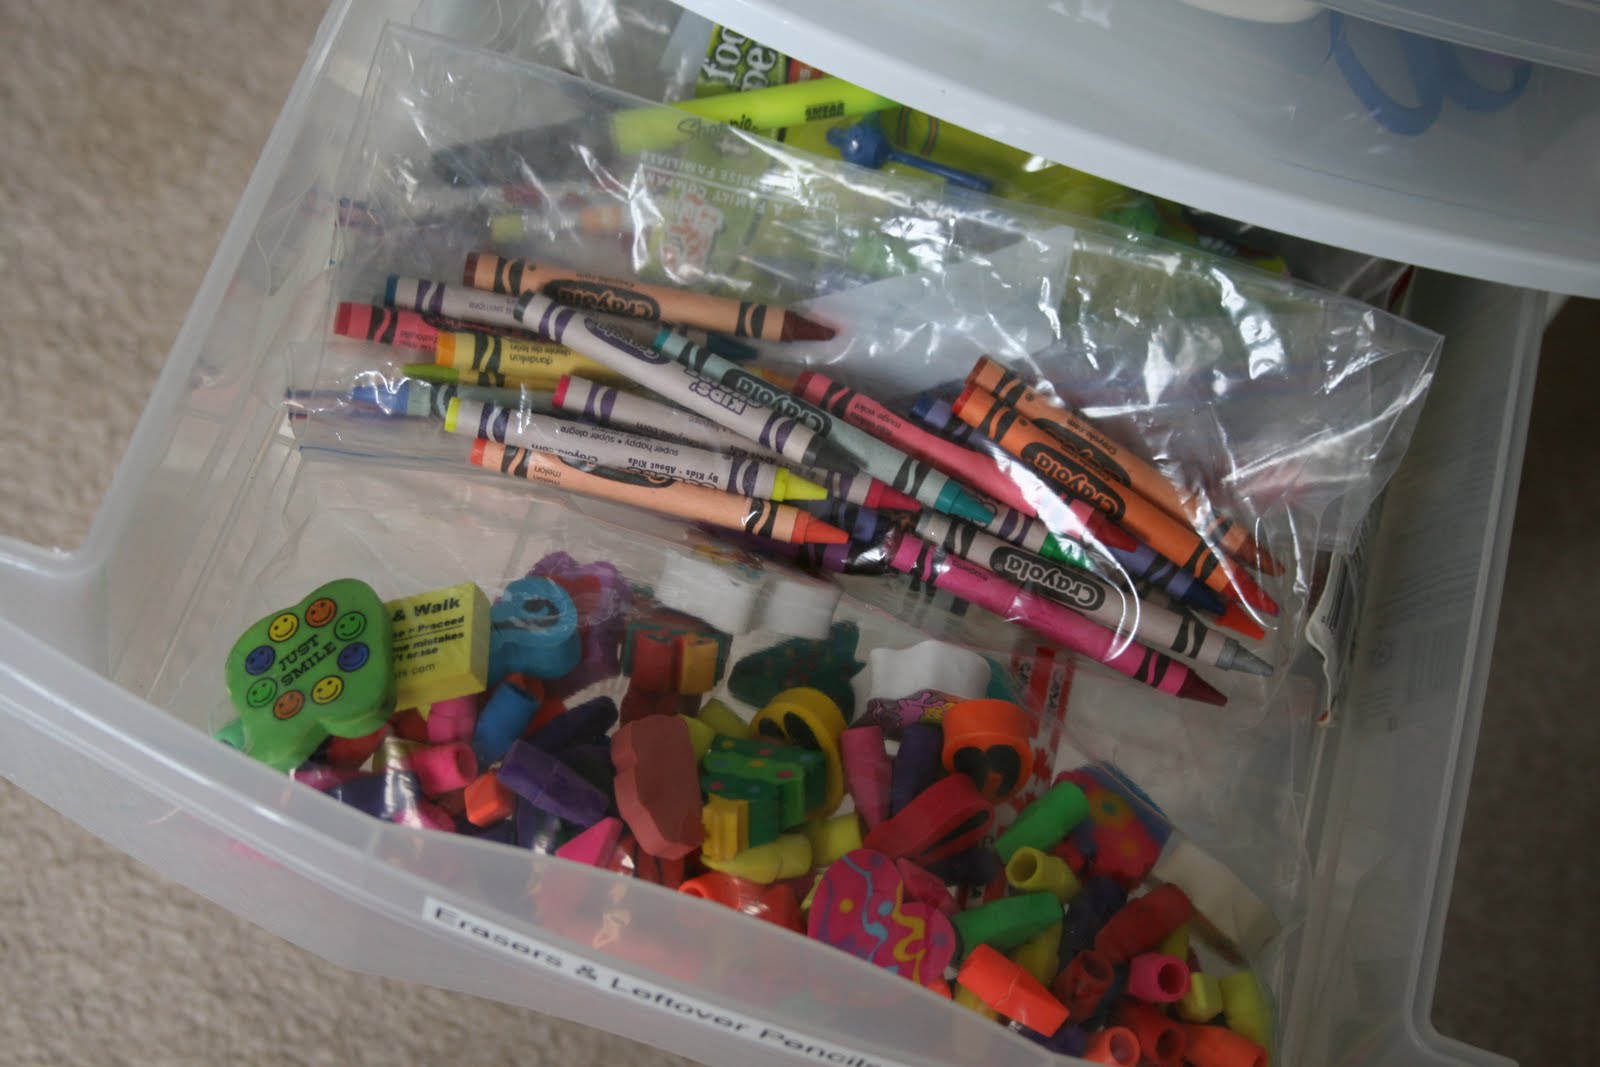
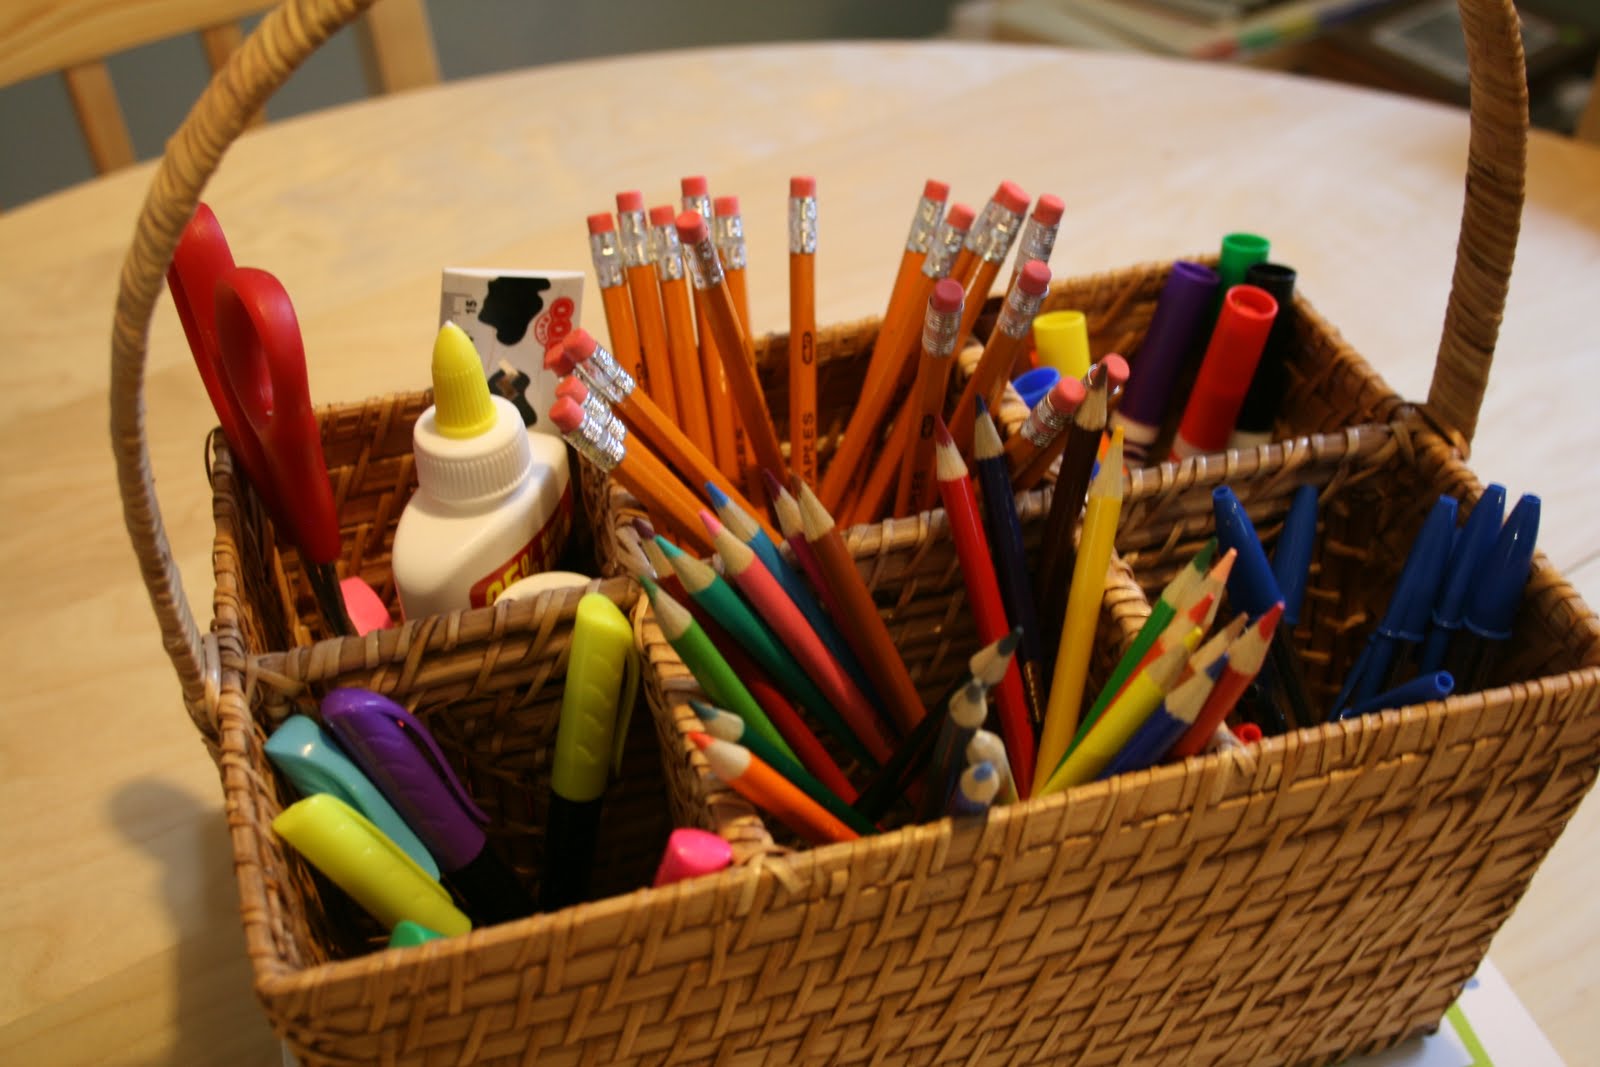
On Tuesday, we talked about Sorting Out School Supplies & Study Spaces.
Today, we are talking about the things that Moms dread the most....packing school lunches.
***
***
First off, if you are looking for lunches that are super cute or made into smiley animal characters...this is not what this post is about. Remember I said EASY people EASY!! lol. I want to share with you my 5 Easy Steps For Packing School Lunches.
My goal is to pack lunches which are healthy & economical for the food/grocery budget.
Over the last 11 years of packing lunches for school, I have come up with this formula which I stick to for sending my children to school with healthy, 'real food' lunches.
I try to avoid pre-packaged snacks as much as possible. For one, they are expensive to buy. Two-they are full of unhealthy ingredients {with the exception of yogurt, cheese strings, applesauce and a few others}. Three-they are not good for the environment with all the extra-packaging, etc.
So I use a lot of BPA-free plastic containers because they are recyclable.
It helps to have a lot of different sizes to use for different things.
And I can make our own pre-packaged lunch foods for the week!

Small sizes, in particular, are great for small servings & salad dressings.

1. Start with a Main Course.
A main course can be a sandwich.
Now, I am the first to admit that sandwiches can be horribly boring, but one thing that I find helps is if different types of breads are used....wraps, french baguette, rolls, or buns. I have a child who loves regular bread and I have a child who prefers french baguette or anything but regular bread, so I use both.

My daughter loves these new little buns that just came out this spring for her sandwiches:


 It looks like this:

 My daughter likes her veggies as is:

 And if you are crazy busy and all this chopping of fresh fruit & veggies seems overwhelming, these are great helpers to use:


 Here we are...healthy pre-packaged fresh food made at home.
 ***
***

So I make sandwiches for each child using his/her favorite...mainly because I want them to actually EAT their lunch. I usually make sandwiches for the next day while I am cooking dinner.
We have a local deli which has lunch meats without nitrates, so I buy lunch meats there.
I also like to use leftover turkey, chicken & roast beef when we have it.

A main course can be soup in a thermos.
When the weather is cold, my kids love soup in a thermos. I like to use these sturdy stainless steel thermoses...they don't leach chemicals and they are indestructible.

A main course can also be a salad
...like a pasta salad...with dressing that can be added before eating.
My daughter loves salad for lunch in the spring.

2. Add Fresh Veggies.
I add fresh veggies to my kids' lunches every day. I make up little containers of veggies at the beginning of the week so I only have to pop a container of veggies into the lunch each day.
I start with little containers:

My son likes his veggies with ranch dressing, so I add a little right into the bottom of the container:


And I add fresh veggies on top for our own little veggies & dip:


3. Add Fresh Fruit.
Apple, bananas, grapes, nectarines, etc. They are all perfect for lunches. I often make up our own pre-packaged mixes of fresh fruit.These containers have a mix of pineapple, honeydew melon, cantaloupe and watermelon. It changes from week to week.


4. Add A Treat.
Yes...every lunch deserves a little treat. I try to keep treats homemade like cookies, brownies, rice crispy treats or muffins. I make the treats in batches, wrap in single servings and place in the freezer to pull out as needed. Here I have added a chocolate chip cookie to each child`s lunch.
Here you can see Hunter`s lunch with her sandwich, servings of fresh veggies & fruit in the orange containers, and her cookie. She likes her lunch in a small container that she can easily pop into her bag.
She is in High School and is not interested in carrying an actual lunch bag.

Here you can see Tyler`s mumbo jumbo sandwich with his containers of fruit & veggies and his cookie.

5. Add A Drink & A Napkin.
I always add 100% juice or milk and a napkin. If the napkin isn`t used, I put it back in the lunch the next day. I have used rubbermaid drink containers in the past and re-filled them each night, but these often got left outside at recess and lost, so I switched to juice boxes instead.
I always add 100% juice or milk and a napkin. If the napkin isn`t used, I put it back in the lunch the next day. I have used rubbermaid drink containers in the past and re-filled them each night, but these often got left outside at recess and lost, so I switched to juice boxes instead.

***
To make life really easy, you can prepackage the fruits & veggies for the entire week and keep them together in a container in the fridge.
I have been doing this for years and it makes lunch packing in the morning so much better!


Last winter I attended a ``Healthy Family Foods`` session at our local library which was organized by Public Health Nurses. It was brought up by the Nurses, who visit local area schools to teach about healthy foods, how pre-packaged foods are being over-used in children`s lunches...to the detriment of their health because they are not getting REAL food.
I so agree with this assessment. It makes me sad to visit my child`s class at lunch time and see what types of junk foods are being given to children for lunch...pop, chips, fruit roll-ups, pre-packaged cookies & treats of all kinds, ``healthy`` granola bars, etc.
I am not saying that I never give my children these things, but I do my best to really, really limit these things and stick to my formula!
Thanks so much for visiting me and make sure you come back tomorrow as I talk about organizing a School Launching & Landing Pad!
If you liked this post, you might like to check out these posts:
5 Easy Steps To Meal Planning
Active Kids & Healthy Snacks & Drinks
Feeding Kids Afterschool
10 Best Ways To Save Money On Groceries Without Couponing
Organizing A Kithen Into Zones
10 Best Camping Recipes & Tips
And these boards on Pinterest:
Organized Kitchens
Freezer Meal Ideas To Love
Back To School Ideas
Organized Mudrooms
Camping Recipes & Food Ideas
Cleaning Tips & Tricks
Thank you so much for visiting!